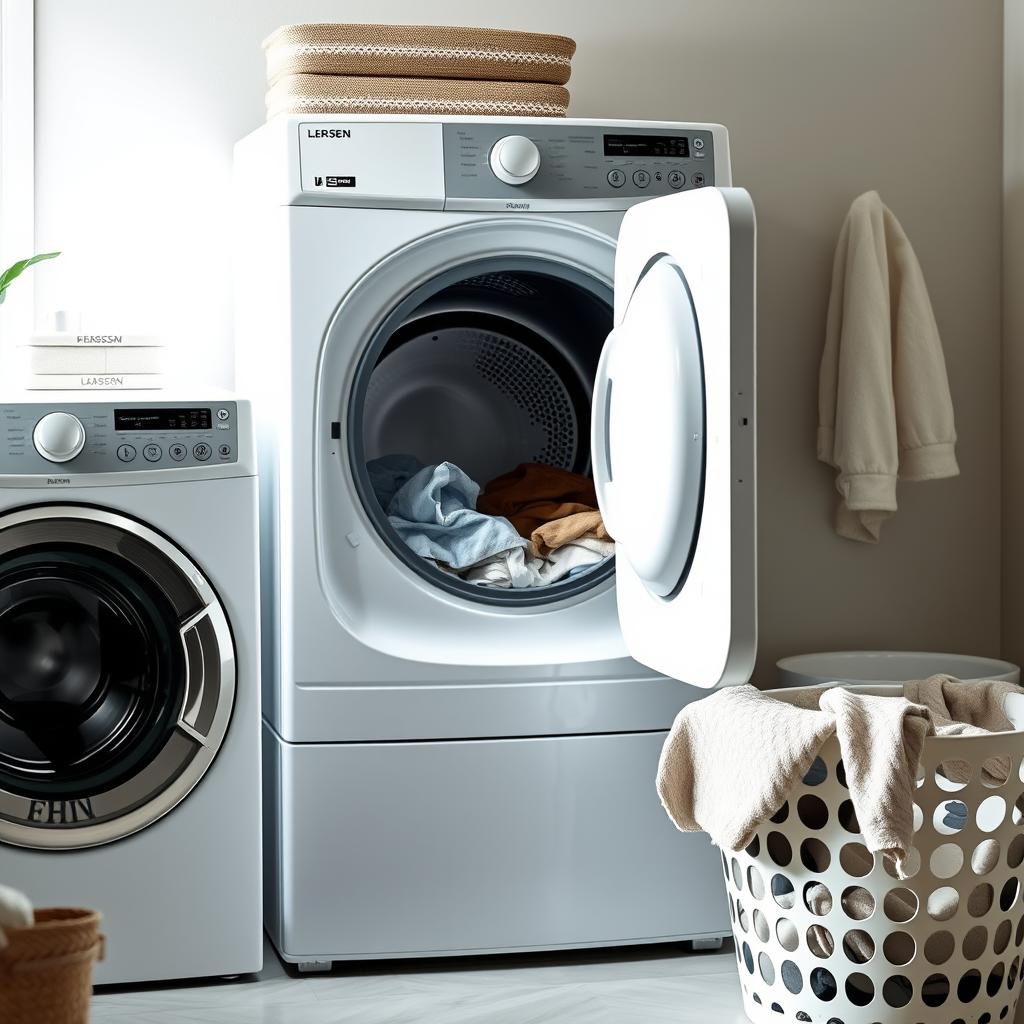
Why Your Dryer Takes Forever to Dry Clothes (And How to Fix It)
If you are running your dryer for two or even three cycles just to get a single load of laundry dry, something is definitely wrong. A properly functioning dryer should dry a standard load in 30 to 45 minutes. When drying times creep up to 60, 90, or even 120 minutes, you are wasting energy, wearing out your dryer faster, and losing valuable time. Let us walk through the most common causes and how to fix them.
Cause #1: A Clogged Lint Trap or Dryer Vent
This is the most common cause of slow drying by a wide margin. The lint trap catches most of the fabric fibers released during tumbling, but when it is full, airflow through the dryer is restricted. The hot, moist air cannot escape efficiently, so clothes stay damp. Cleaning the lint trap before every load is non-negotiable — it is the single most important dryer maintenance task.
But the lint trap is only the beginning. The dryer vent duct that carries exhaust from the back of your dryer to the outside of your house gradually accumulates lint over time. A partially clogged vent is the number one hidden cause of long drying times. Even if the lint trap is clean, a restricted vent forces your dryer to work twice as hard with half the results.
Check the exterior vent while the dryer is running — you should feel strong, warm airflow. If the airflow is weak or nonexistent, the vent needs cleaning. Disconnect the duct from the back of the dryer and use a dryer vent brush to clean the entire length. For more on this critical safety and performance issue, read our detailed guide on dryer vent warning signs you should not ignore.
Cause #2: Overloading the Dryer
Stuffing too many clothes into the dryer is a natural temptation — you want to get through laundry day faster. But overloading actually has the opposite effect. Clothes need room to tumble and separate in the hot air stream for moisture to evaporate. When the drum is packed too tight, clothes clump together, trap moisture between layers, and block airflow through the drum.
A good rule of thumb is to fill the drum about three-quarters full. You should be able to reach in and easily toss the clothes around with your hand. If you cannot, there is too much in there. Smaller loads dry faster, use less energy per load, and are gentler on both your clothes and your dryer’s mechanical components.
Cause #3: The Heating Element Is Failing
Electric dryers use a heating element (a metal coil that glows red-hot) to heat the air that dries your clothes. When this element starts to fail, it may still produce some heat but not enough to dry clothes efficiently. A completely failed element means the dryer tumbles but produces no heat at all — clothes come out as damp as when they went in.
You can sometimes tell the element is weak by how warm the air feels inside the dryer mid-cycle. Open the door and feel the air and the drum. If the drum feels barely warm rather than hot, the heating element may be weakening. Confirming the diagnosis requires a multimeter to test for continuity and proper resistance. Replacing a dryer heating element is a common repair that a technician can typically complete in under an hour.
Cause #4: A Faulty Thermostat or Thermal Fuse
Your dryer has multiple thermostats and thermal fuses that regulate temperature during the drying cycle. The cycling thermostat turns the heating element on and off to maintain the correct temperature. The high-limit thermostat and thermal fuse are safety devices that shut off heat if the dryer overheats.
When a cycling thermostat fails, it may shut off the heating element too early, resulting in insufficient heat and extended drying times. A blown thermal fuse can cut off heat entirely. If your dryer runs but does not heat, check the thermal fuse first — it is one of the most common dryer component failures and is inexpensive to replace. Note that a blown thermal fuse usually points to an underlying problem like a clogged vent, so address both the fuse and the root cause. Our appliance error code guide can help identify specific fault codes if your dryer displays any.
Cause #5: A Worn Drum Seal or Felt Gasket
The drum inside your dryer rotates within a housing, and felt or rubber seals along the front and rear edges prevent hot air from escaping around the drum. As these seals wear out, hot air leaks out of the drum rather than passing through your clothes. The dryer still heats, the drum still spins, but the hot air takes a shortcut and drying performance drops.
Signs of worn drum seals include a noticeable increase in heat around the outside of the dryer, dark marks on clothes from friction against the worn seal, and thumping or scraping noises. Replacing drum seals is moderately involved and usually best left to a professional, but the parts themselves are relatively inexpensive.
Cause #6: Your Washer Is Not Spinning Properly
Here is a cause many people overlook: the problem might not be the dryer at all. If your washing machine is not spinning at full speed during the final spin cycle, clothes come out of the washer much wetter than they should be. The dryer then has to remove significantly more moisture, which takes significantly more time.
If your clothes feel noticeably heavy and dripping wet when you transfer them from washer to dryer, check the washer’s spin performance. Common culprits include an unbalanced load, a worn drive belt, or a failing motor. For a full rundown of spin-related issues, see our guide on why your washing machine will not spin.
Cause #7: Using the Wrong Dryer Settings
Modern dryers have a variety of heat settings and cycle options designed for different fabric types. If you are using a low-heat or delicate setting for heavy items like towels and jeans, drying will naturally take much longer. Make sure you are selecting the appropriate heat level for the type of clothing in each load.
Also check the moisture sensor settings if your dryer has them. Auto-dry cycles rely on moisture sensors to determine when clothes are dry. If these sensors are dirty (coated with dryer sheet residue), they give inaccurate readings and may end the cycle too early or run it inefficiently. Clean the sensor bars (usually two metal strips inside the drum near the lint trap) with rubbing alcohol and a soft cloth.
Maintenance Tips to Keep Drying Times Short
Prevention is always better than troubleshooting. Clean the lint trap before every load without exception. Have the dryer vent professionally cleaned at least once a year. Do not overload the dryer. Use rigid metal duct for the vent connection rather than flexible plastic or foil. Keep the area around the dryer clean and clear. And clean the moisture sensor bars monthly if you use dryer sheets. These simple habits keep your dryer running at peak efficiency.
For a comprehensive maintenance routine, check out our complete guide on maintaining your dryer and preventing fire hazards.
When to Call for Professional Help
If cleaning the vent and lint trap does not improve drying times, or if you suspect a heating element, thermostat, or drum seal issue, it is time for professional diagnosis. The technicians at SkyBreeze Appliance Repair work with all major dryer brands including Samsung, LG, Whirlpool, Maytag, and GE. We serve Tampa, Wesley Chapel, Lutz, Land O’ Lakes, Shady Hills, Hudson, Dade City, Zephyrhills, The Villages, and surrounding areas. We will get your dryer back to drying a full load in one cycle — the way it should be.