Why Is My Refrigerator Leaking Water? Causes and Solutions
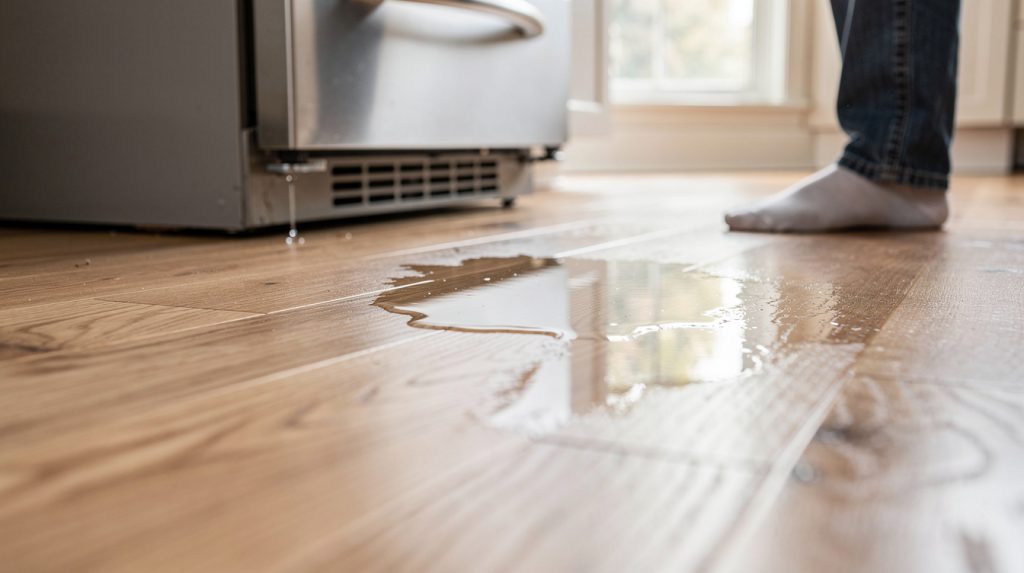
Stepping into the kitchen and finding a puddle of water on the floor near the refrigerator is always alarming. Water on kitchen floors isn’t just inconvenient — it can damage flooring, encourage mold growth under the appliance, and in some cases indicate a significant problem with the refrigerator itself. If your fridge is leaking water, the sooner you identify the cause, the better.
This is a surprisingly common call we receive from homeowners across Tampa, Wesley Chapel, Lutz, Hudson, and the rest of the Tampa Bay area. The culprit is usually one of a handful of issues — some very simple to fix, others requiring professional attention.
Where Is the Water Coming From?
Before diagnosing the cause, try to identify where the water is actually originating. Is it coming from the front of the refrigerator? The back? Underneath? Inside? This observation can significantly narrow down the possibilities.
1. Clogged Defrost Drain
This is the most common cause of water appearing on the floor or inside the refrigerator. Modern frost-free refrigerators periodically run a defrost cycle that melts frost from the evaporator coils. This melt water is designed to drain through a small tube at the back of the freezer compartment, down into a drain pan under the refrigerator where it evaporates harmlessly.
If the defrost drain tube gets clogged with food debris, ice, or mineral buildup, the melt water has nowhere to go. It backs up and either pools at the bottom of the freezer, drips into the fresh food section, or finds its way to the floor. You might also see ice building up at the bottom of the freezer before the water issue appears.
How to fix it: Defrost the refrigerator manually by unplugging it and leaving doors open for 24–48 hours with towels on the floor to catch water. Once fully defrosted, locate the drain tube (at the back of the freezer floor, covered by a panel) and flush it with warm water using a turkey baster. You can also use a flexible drain cleaning brush to clear stubborn blockages. Check that the water flows out and that the drain pan underneath is properly positioned.
2. A Frozen or Overflowing Drain Pan
Under the refrigerator sits a drain pan (also called a drip pan) that collects the defrost cycle’s melt water. The compressor’s heat normally evaporates this water before it can overflow. However, if the pan cracks, gets knocked out of position, or fills faster than the water can evaporate (which can happen during particularly humid Florida summers), it may overflow onto the floor.
Pull out the drain pan from the bottom front of the refrigerator (after unplugging) and inspect it. If it’s cracked, it needs replacement. If it’s simply overflowing, there may be an issue with how much water is collecting — which points back to the defrost system or a separate moisture issue.
3. Water Supply Line Leak
If your refrigerator has an ice maker or water dispenser, it’s connected to your home’s water supply via a water supply line. This line — typically a thin plastic tube or copper line — connects at the back of the refrigerator. If the connection loosens, the line develops a crack, or a fitting corrodes, water can drip from the back of the fridge and run underneath it to the front.
Pull the refrigerator away from the wall and inspect the supply line and connections. Look for visible drips, cracks, or wet spots on the line or fittings. Tighten any loose compression fittings with a wrench, or replace a cracked section of tubing. If the fitting at the fridge inlet is leaking, a new water line inlet valve fitting may be needed.
4. A Faulty Water Inlet Valve
The water inlet valve is an electrically controlled valve at the back of the refrigerator that opens to allow water into the ice maker or dispenser. Over time, these valves can wear out, crack, or fail to close completely — causing a continuous slow drip that pools under the refrigerator.
Signs of a leaking inlet valve include water appearing even when the ice maker and dispenser aren’t actively in use, and a slow accumulation of water at the back of the appliance. The valve is accessible from the back of the refrigerator after unplugging it. Replacement valves are relatively inexpensive, but the repair involves disconnecting the water supply line and electrical connectors.
If you’ve also noticed your ice maker not working, a faulty inlet valve could be causing both problems simultaneously.
5. Condensation on the Water Dispenser Line
In Florida’s humid climate, condensation can form on the water line inside the refrigerator door, particularly on older appliances. If the insulation around the dispenser tubing deteriorates, moisture can accumulate and drip down the door or onto the floor. This type of leak is often minor but persistent.
This is more of a nuisance than an urgent repair, but if left unchecked, the moisture can damage the door interior or create mold. Reinsulating the dispenser line or replacing the door gasket (if warm, humid air is getting into the door) typically resolves this.
6. The Refrigerator Isn’t Level
A refrigerator should tilt very slightly backward (about 1/4 inch) so that the doors close naturally and so that condensation and defrost water drain toward the back and into the drain pan rather than toward the front. If the refrigerator is tilted too far forward or significantly to one side, water that should drain to the back may run toward the front and onto the floor.
Use a level to check the refrigerator’s positioning and adjust the front leveling legs accordingly. On most refrigerators, the front legs can be raised or lowered with a wrench or by hand.
How to Prevent Water Damage While Troubleshooting
While you’re working on identifying the cause, place absorbent towels around the base of the refrigerator and under the front to catch any ongoing leaks. Avoid letting water sit on hardwood or laminate flooring — prolonged exposure can cause permanent warping and mold growth. If the leak is significant, you may want to temporarily turn off the water supply to the refrigerator at the wall valve while you diagnose the problem.
Related Refrigerator Problems
Water leaks sometimes coincide with other refrigerator issues. If you’re also noticing temperature problems, check our guide on refrigerator not cooling properly. And if you hear unusual sounds from the fridge, our article on refrigerator loud noises can help decode what you’re hearing.
When to Call SkyBreeze Appliance Repair
If the defrost drain cleaning didn’t resolve the leak, or if you’re not comfortable disconnecting water lines and electrical connectors to replace a valve, it’s time to call a professional. Water-related refrigerator repairs require turning off the water supply and sometimes draining the refrigerator completely — jobs that go more smoothly with the right tools and experience.
At SkyBreeze Appliance Repair, we handle refrigerator water leaks regularly for homeowners throughout Tampa Bay — in Land O’ Lakes, Shady Hills, Dade City, Zephyrhills, and The Villages. We’ll identify the source of the leak, fix it correctly, and help you avoid a repeat problem. Call us to schedule a same-week appointment.
Understanding the Defrost Drain in Detail
Because the clogged defrost drain is such a common cause of refrigerator leaks, it’s worth understanding the anatomy of the system so you can service it confidently:
Modern frost-free refrigerators run a defrost cycle every 6–12 hours to melt frost off the evaporator coils. During this cycle, the evaporator heater turns on for 15–30 minutes, melting the accumulated frost. The resulting water drips down into a small drain hole at the bottom of the evaporator compartment, then travels through a drain tube down the back of the refrigerator and into the drain pan underneath.
The drain hole sits under the evaporator cover panel — a plastic panel at the back wall of either the freezer or the fresh food section, depending on your refrigerator’s design. On many models, especially French door designs, the evaporator and drain are in the freezer section. On some older side-by-side models, there are evaporators in both the refrigerator and freezer sections.
When the drain clogs — usually with a combination of ice and food debris — the defrost water has nowhere to go. It accumulates until it finds another path, which is usually through the interior compartment and eventually onto the floor.
How to Thoroughly Clear a Clogged Defrost Drain
- Unplug the refrigerator and empty the freezer section. Have towels ready — there may be significant accumulated ice water.
- Locate and remove the evaporator cover panel (held by a few screws in most models). Be prepared for ice to fall out.
- Use a hair dryer on low heat, held at a safe distance, to melt any ice accumulation around the drain hole. Do not use high heat.
- Locate the drain hole — it’s typically a small hole with a rubber or plastic grommet at the lowest point of the evaporator compartment floor.
- Using a turkey baster filled with warm water (not boiling), flush the drain hole repeatedly until water flows freely through the drain tube.
- A pipe cleaner or flexible cleaning brush can be pushed gently down the drain tube to clear debris.
- Flush again with warm water and confirm that water is flowing freely into the drain pan below.
- Check the drain pan — if it’s full or overflowing, empty and clean it before plugging the refrigerator back in.
- Reassemble and monitor over the next 48 hours to confirm the problem is resolved.
Florida-Specific Water and Humidity Concerns
Florida’s high humidity affects refrigerator water management in specific ways that are worth knowing about:
When you open the refrigerator door in a humid Florida kitchen, a significant amount of moisture enters the compartment with the warm air. This moisture eventually deposits on the evaporator coils as frost. Homes in coastal areas like Hudson, or in particularly humid periods of summer, may see the defrost drain clog more frequently than the national average suggests.
Additionally, drain pan evaporation is less efficient in high-humidity conditions. In Florida summers, the drain pan may fill faster than it can evaporate, leading to overflow — particularly if the refrigerator is also producing above-average defrost water due to frequent door openings in a warm kitchen. Checking the drain pan condition is a useful part of any refrigerator maintenance routine in our climate.
Cost of Common Refrigerator Water Leak Repairs
If DIY troubleshooting hasn’t resolved the leak, here’s what to expect for professional repairs in the Tampa Bay area:
- Defrost drain clearing (professional service): $100–$175, includes defrosting, clearing, and reinstalling the evaporator panel
- Water inlet valve replacement: $125–$200 including parts and labor
- Supply line replacement: $75–$150
- Drain pan replacement: $75–$100
- Door gasket replacement: $75–$150 professionally installed
In most cases, a refrigerator leak is a relatively modest repair cost. If you’re also experiencing cooling problems, check our guide on refrigerator not cooling — the two issues sometimes share a root cause, and combining the repair into one visit saves money.
Quick Summary
Refrigerator water on the floor is most commonly caused by a clogged defrost drain, an overflowing drip pan, a water supply line leak, a faulty inlet valve, condensation issues, or the refrigerator not being level. The defrost drain is the most common culprit in frost-free refrigerators — and it’s something most homeowners can fix themselves with a bit of patience. For inlet valve or supply line issues, professional help gets the job done right the first time.
Related Articles
- Refrigerator Running But Not Cooling?
- Refrigerator Ice Maker Not Working?
- Refrigerator Water Dispenser Not Working?
- How to Clean Refrigerator Condenser Coils
- Common Refrigerator Mistakes That Lead to Costly Repairs